Configuring self-signed SSL certificates for local development
Sometimes it’s preferible to keep your local development environment as close to production as possible.
In this post I’ll cover how to configure self-signed SSL certificates using a project called mkcert which makes
creating, installing and removing self-signed certificates easier than ever.
The instructions are slightly different depending on your local environment:
Common
The first thing you will need is to install mkcert which can be done via homebrew or homebrew for Linux.
$ brew install mkcert
If you intend to use Firefox, you should also install nss.
$ brew install nss
Next run mkcert and pass in the the domain names and IPs you want the certificate to include:
$ mkcert mywebsite.test localhost 127.0.0.1 ::1

Created a new certificate valid for the following names 📜
 - "mywebsite.test"
 - "localhost"
 - "127.0.0.1"
 - "::1"

The certificate is at "./mywebsite.test+3.pem" and the key at "./mywebsite.test+3-key.pem" ✅

It will expire on 7 September 2023
mkcert also accepts wildcards but some browsers (Firefox) will not accept those certificates.
After the certificates are generated we can install the local CA by running mkcert with the install flag. This only needs to be done once as this CA will be used to sign all future certificates generated with mkcert.
$ mkcert -install
If this is you first time installing certificates using mkcert you should see the following output:
The local CA is now installed in the system trust store! ⚡️
# or...
The local CA is already installed in the system trust store! 👍
At this point your can use your generated certificates with your development server.
Flask
$ flask run --cert=mywebsite.test+3.pem --key=mywebsite.test+3-key.pem
Rails
$ rails s -b 'ssl://127.0.0.1:3000?key=mywebsite.test+3-key.pem&cert=mywebsite.test+3.pem'
WSL2
If you’re running the WSL2 then there are few extra steps in order to get the Windows 10 host to accept the validity of the certificates.
First we want to install mkcert on Windows which we can do using chocolatey.
Open a Powershell terminal using the administrator user and run:
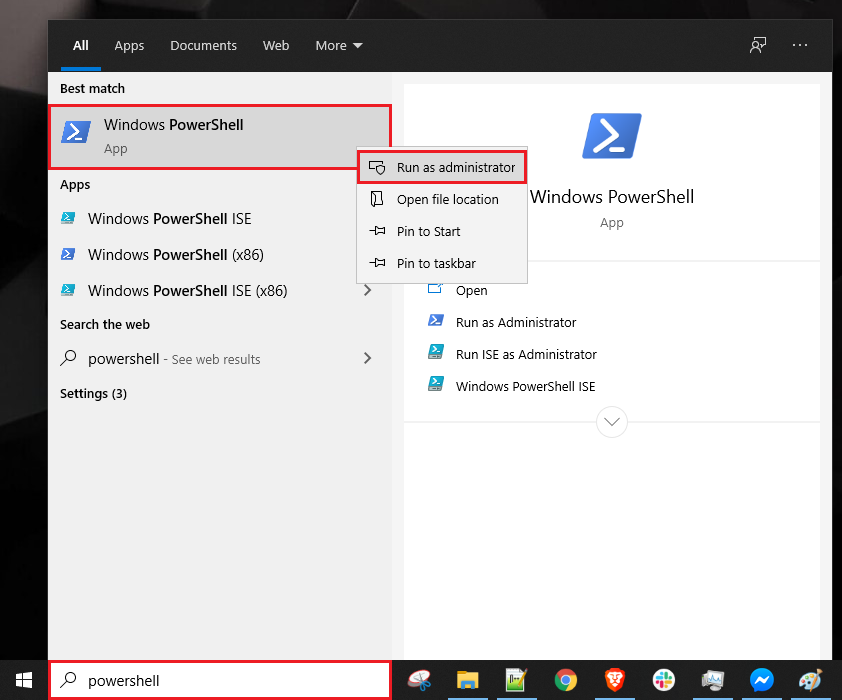
$ choco install mkcert
Then run mkcert with the install flag like we did before:
# first set the CAROOT path to point to the root CA we generated on WSL2
# you can get this directory by running mkcert -CAROOT from a WSL2 terminal
# if we don't do this it will install a different root CA and we will get warnings
$CAROOT="\\wsl$\Ubuntu\home\ashley\.local\share\mkcert\"
$ mkcert -install
The local CA is now installed in the system trust store! ⚡️
Note: Firefox support is not available on your platform. ℹ️
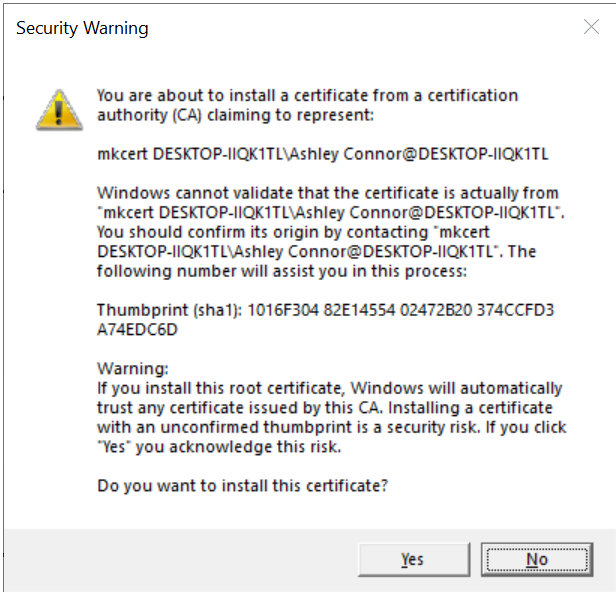
You should see a popup like the one below. Click “Yes” to install the CA on the Windows 10 host.
Firefox on Windows
After that’s installed let’s fix Firefox so it doesn’t complain that our certs are invalid.
To do that open the Firefox browser and navigate to the settings and search for certificates:
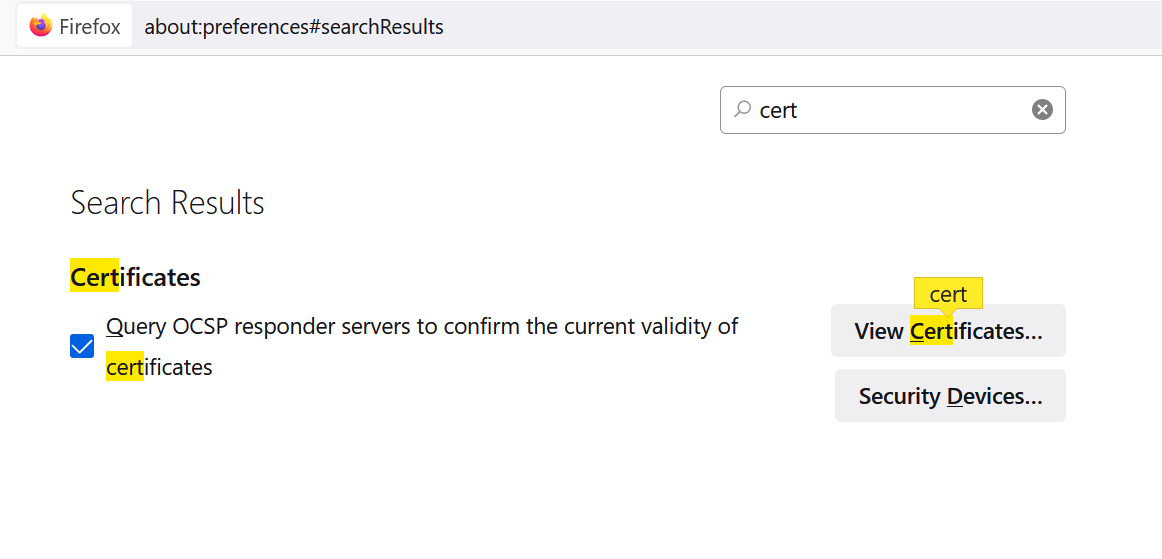
Click on “View Certificates”
Next click on “Import”. We want to locate the root CA from our Linux instance. Mine was located here but yours will be different depending on your WSL2 linux distro:
\\wsl$\Ubuntu\home\ashley\.local\share\mkcert\rootCA.pem
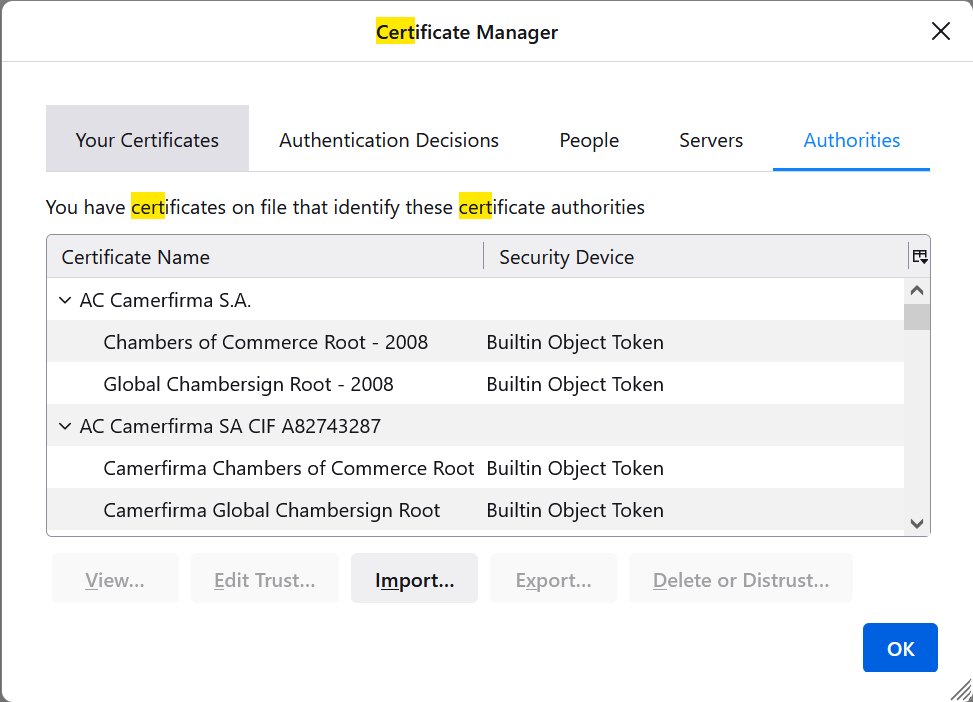
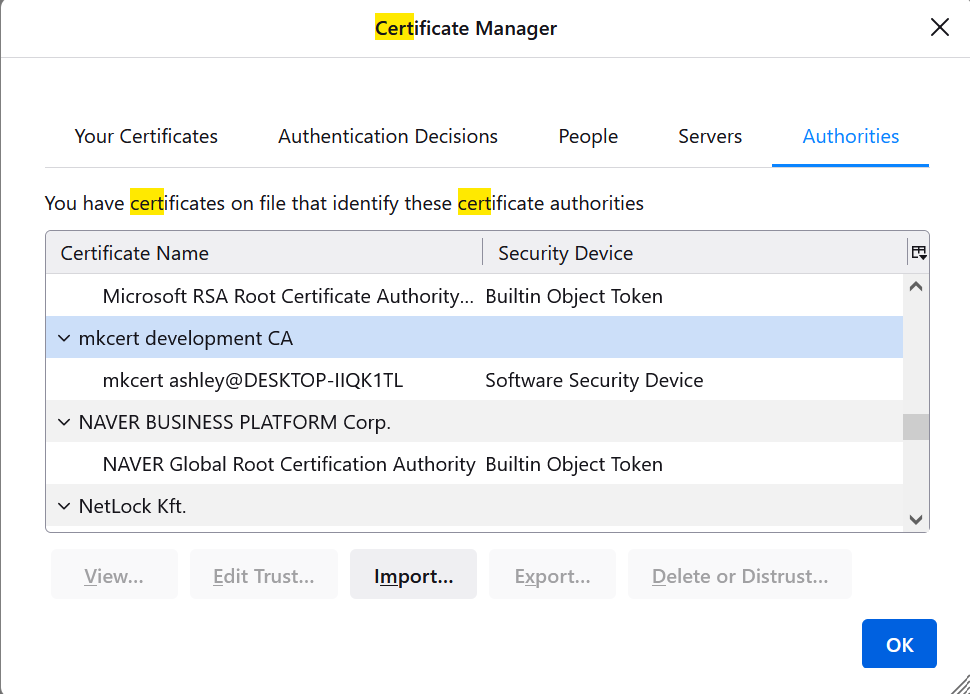
Once installed you will see your local CA in the list of Authorities:
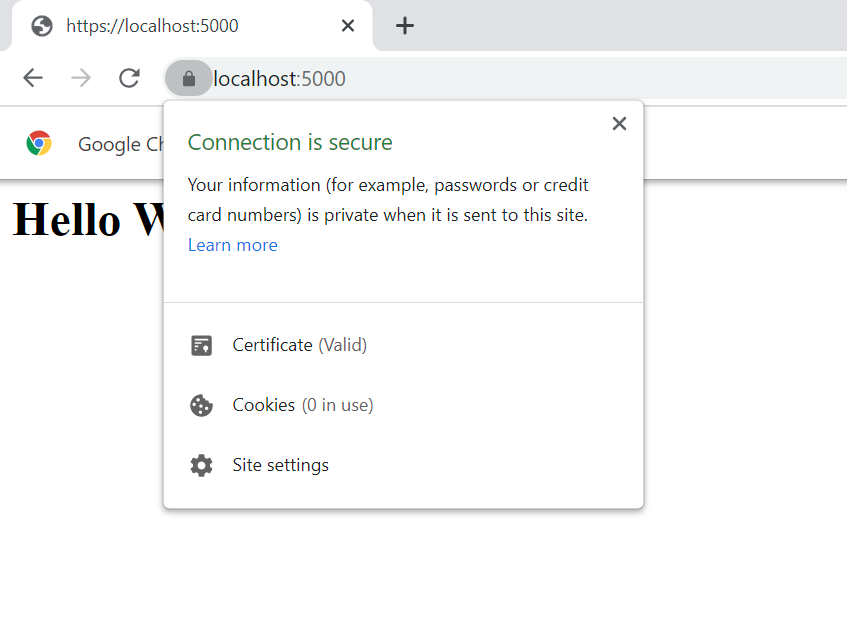
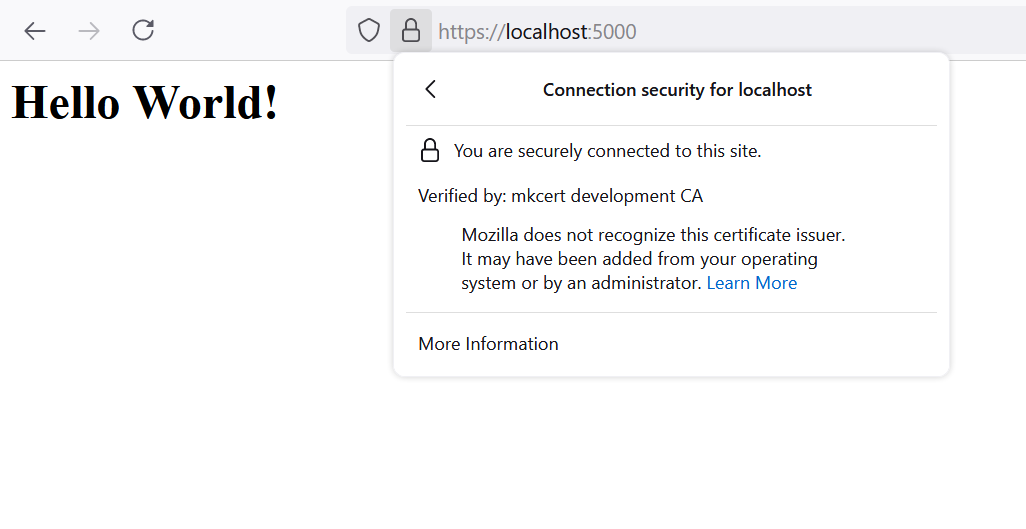
Now if we visit our local development server in Firefox on our Windows host we should see the page load without any warnings.
Firefox
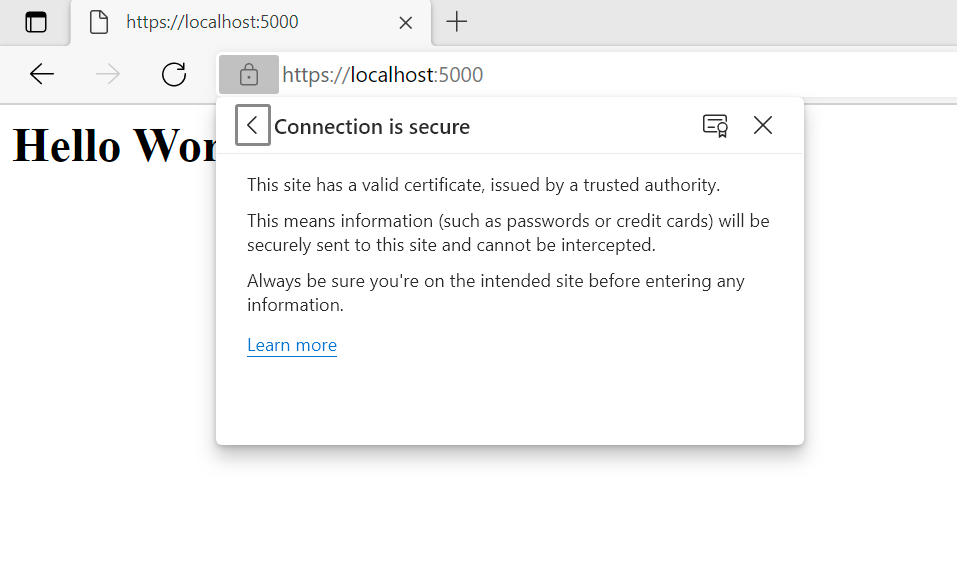
Edge
Chrome